


Automatic Installation
The code can be deployed just like other plugins. Under WordPress Plugins follow the next steps:
- Log in to your WordPress site admin.
- Go to Plugins –> Add New.
- Choose the Upload option (near the top of the page).
- Click browse and select the zip file.
- Once you’ve selected the file click Install Now.
- Once the plugin is uploaded and installed choose Activate Plugin.
If the plugin is deployed under a WordPress MultiSite environment, when activated within individual blog instead Network Admin, it can be used whenever the code is active.
Manual Plugin Installation
There are a few cases when manually installing a WordPress Plugin is appropriate.
- If you wish to control the placement and process of installing a WordPress Plugin.
- If your server does not permit automatic installation of a WordPress Plugin.
- The WordPress Plugin is not in the official WordPress Plugin Directory.
To manually install the plugin follow the next steps:
- Download the archive to your computer.
- Extract the Plugin files and folders to your desktop (preferable).
- Using your FTP program, upload the Plugin folder to the wp-content/plugins directory in your WordPress online instance.
- Go to Network Dashboard, access the Plugins screen and find the newly uploaded WooCommerce Software License in the list.
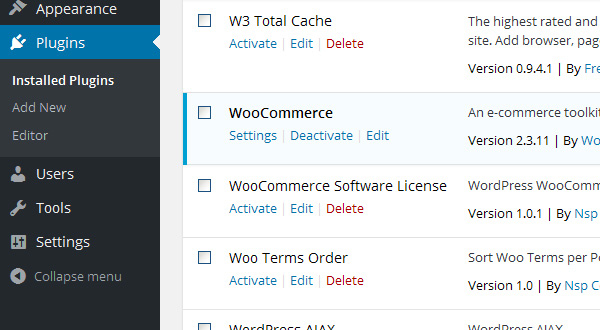
- Click Activate to enable the code.